
Introduction
TikTok has emerged as one of the most popular social media platforms globally. With its vast user base and engaging content, it has become a prime advertising platform for businesses. To effectively track and analyze user interactions on TikTok, companies often leverage server-side tracking methods combined with tools like Google Tag Manager (GTM). This case study explores how TikTok server-side tracking was successfully implemented using GTM, enhancing a publisher’s advertising analytics and performance. It also assumes you have an existing server-side container set-up within GTM.
Publisher
Our client is a luxury holiday escape booking service specializing in glamorous getaways. With a diverse range of destinations, they actively utilize various social media platforms for advertising and customer engagement. Recognizing the potential of TikTok, the client decided to enhance their advertising efforts on the platform and needed a robust tracking solution.
Challenges
1. Limited visibility into TikTok ad performance beyond basic metrics.
2. Difficulty in tracking user interactions and attributing them to specific marketing campaigns.
3. Inability to integrate TikTok data seamlessly into their existing analytics platform.
Solution
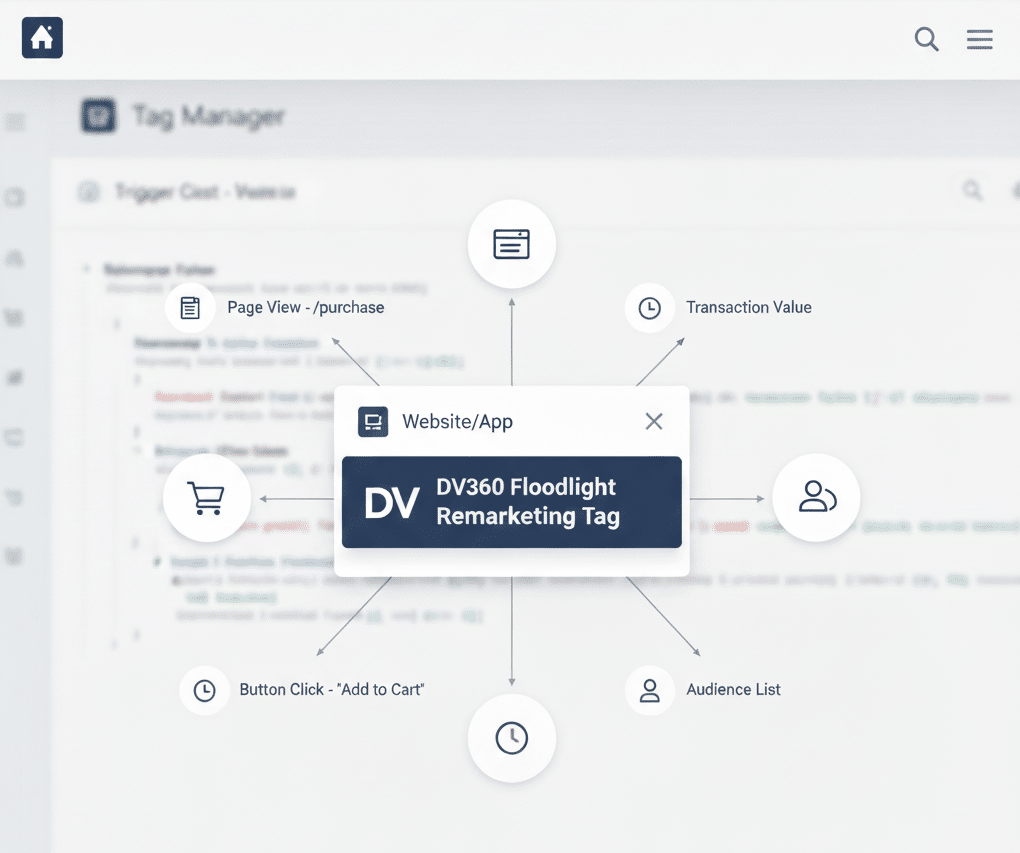
We proposed a server-side tracking approach to gain deeper insights into TikTok ad performance, as well as future-proofing the company’s 3rd-party tracking solutions. By leveraging Google Tag Manager (GTM), they could efficiently manage and deploy tracking tags across their digital properties.
Implementation Steps
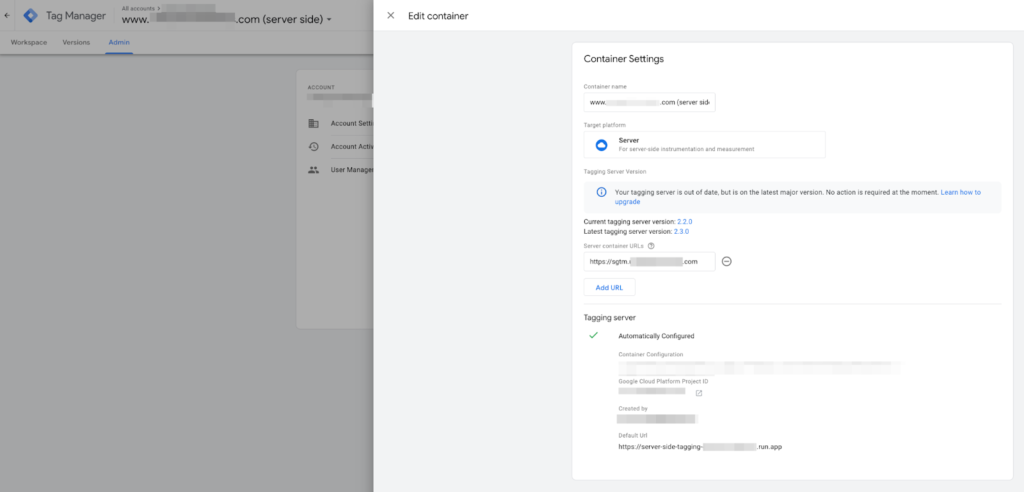
Step 1: Implement GTM Server-Side Container
To manage server-side tracking within GTM, create a server container and configure it to handle TikTok server requests. Refer to Google’s official documentation for more support with this!
Step 2: Set up TikTok Ads Manager
Create a TikTok Ads Manager account and select ‘Tools’ from the main nav. Then under ‘Web Events’, choose ‘manage’:

Step 3: Set up TikTok Web Events
Choose ‘Set up Web Events’ from this menu:

Step 4: Configure TikTok pixel
Depending on your preferred method of implementation, you will be presented with a choice to either manually configure, or, leverage a ‘turn-key’ integration. We will utilize GTM for this implementation so select ‘Partner setup’ for the ‘turn-key’ method:

Select Google Tag Manager’s ‘Events API’ option:

And give your pixel a name:
You will be provided with a unique pixel ‘ID’. Make a note of this or where it is located, as we will need it later. Now head over to GTM by clicking ‘Go to template’:
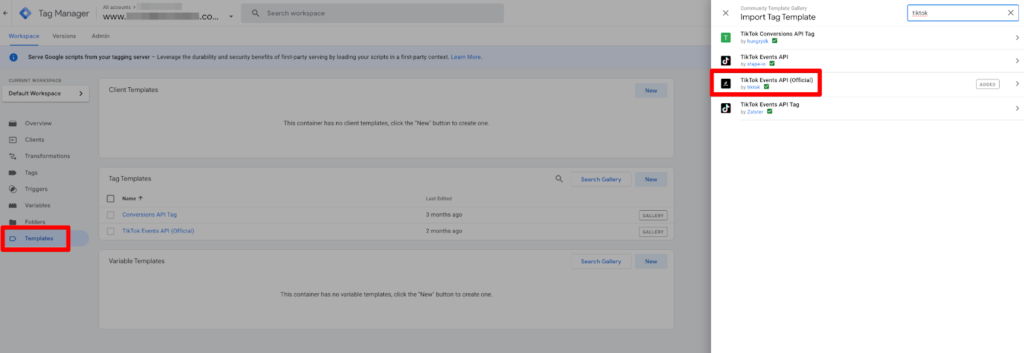
Step 4: Add GTM’s TikTok server-side integration
You will be ported over via a new window to your GTM Server Workspace and presented with the ‘TikTok Events API’ template. Click ‘Add to workspace’:

Step 5: Finalise TikTok pixel creation
Revert back to your TikTok Ads Account window and click ‘Finish’:
You are now presented with the ‘Overview’ menu of your newly created pixel – good job!:
You can also manually search for the TikTok Server-Side integration directly within your GTM container:
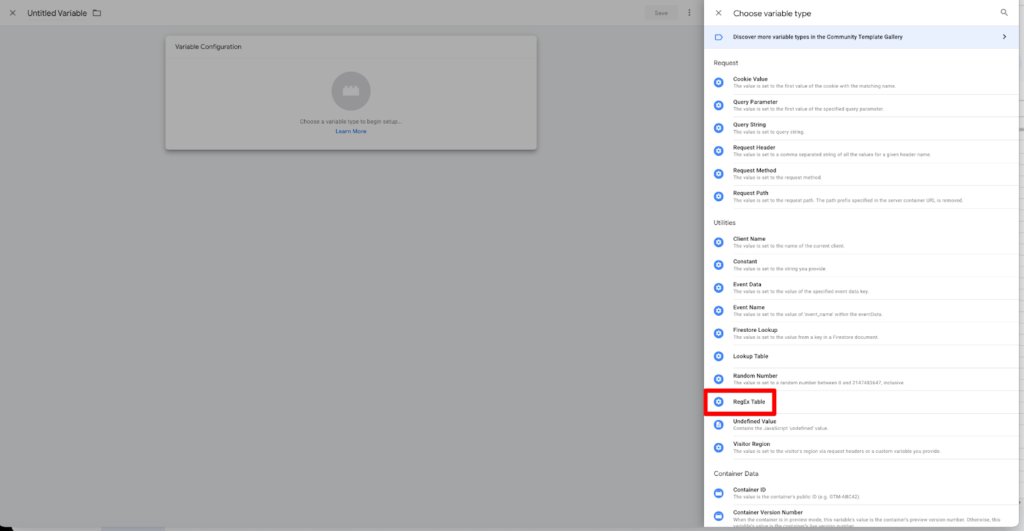
Step 6: Create Custom Variables and Triggers
Define custom variables and triggers within GTM to capture specific user interactions, such as product views, add-to-cart events, and purchases.
Typically, you might configure these individually, however, a smarter more efficient approach is to batch these mappings together in 1 simple event mapping variable using a ‘Regex Table’:


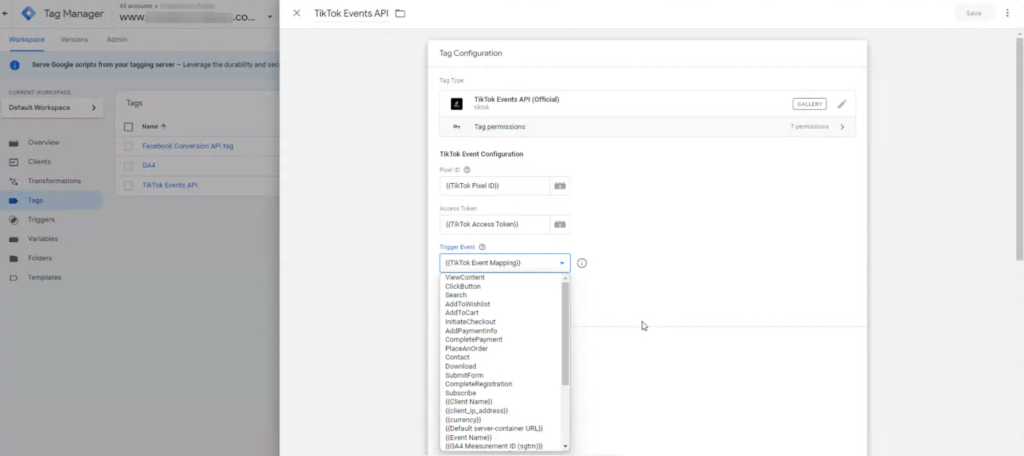
NB. To observe the format/naming conventions TikTok needs to understand the events we’re sending, view the Tag’s Server-Side integration and inspect the ‘Trigger Event’ drop down:
Once mapped, our Regex Table’s criteria will be assessed upon interaction and when a condition is met, will store the mapped TikTok value to your event variable – in this case, we are using {{Event Name}} :

We then assign {{Event Name}} to a custom trigger that we scope to the TikTok tag, which is fired upon our key interaction:

Step 7: Configure the Tag template ‘Trigger Event’
Configure the tag’s ‘Trigger Event’, adding in your {{TikTok Event Mapping}} we just created:

Step 8: Configure the Tag template ‘Access Token’
To create a connection between our GTM Server Events and the TikTok Server, we need to provide authorisation. Once again, our ReGex Table variable solution – to the rescue!
We need to create your events in the TikTok Ads Manager interface as well. When you do, you’ll be issued with a unique alpha-numeric token that will be mapped to another RegEx table variable:

These tokens become the ‘Output’ values in your regex table – just make sure you map your view_item pattern value with your TikTok generated ViewContent event token, add_to_cart with your AddToCart token and so on.. :


Step 9: Configure the Tag template ‘Pixel ID’
When creating our events in the TikTok Ads Manager, we generate unique Pixel ID’s too! Repeat Step 8 for this additional connection requirement also:
Once you’ve completed your 3 RegEx Table mappings, named and saved, head over to your Server-Side tag and simply configure your ‘Trigger Event’ with the new {{TikTok Event Mapping}} variable, ‘Access Token’ with {{TikTok Access Token}} and ‘Pixel ID’ with {{TikTok Pixel ID}}:

For additional support from the official TikTok implementation docs, visit https://business-api.tiktok.com/portal/docs?id=1772372080226305. NB. you won’t find our shortcuts there..
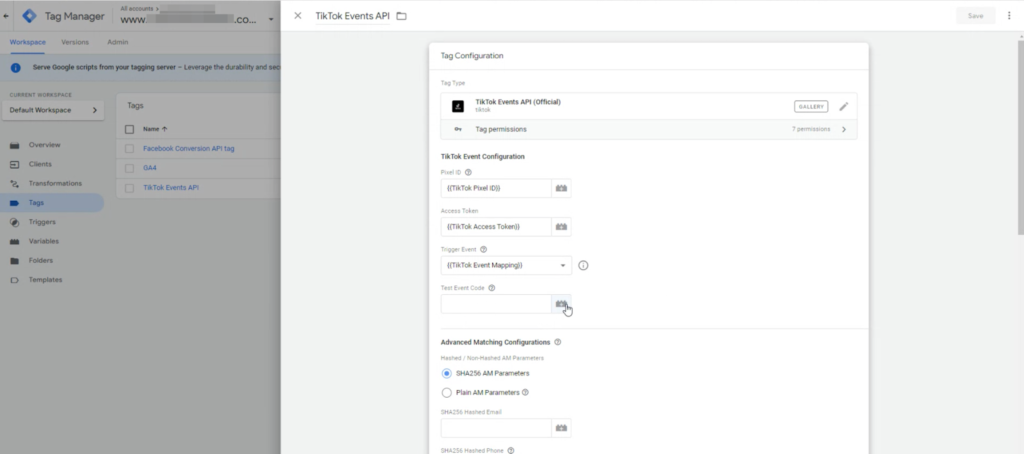
Step 10: Enable Testing/Debugging for your Integration
Almost there! We recommend making use of TikTok’s testing utility. In TikTok Ads Manager, navigate to ‘Test Events’ and choose ‘Download’ to add the Chrome extension when prompted:

And if you scroll down the page a little further within each individual event section, you will be presented with a temporary test code. Copy this code:

Switch back to your GTM server-side TikTok tag and add it as a mapping, like so:
(Note, this test id has a short life span (<24 hours) so make sure you check back in with your TikTok Ads Manager account to ensure you are using the right/most up-to-date one).
Next, navigate to ‘Other Configurations (Optional)’:

Add the test id here too (recommend mapping each test_event_code in a ReGex Table variable as well. Once saved, add the RegEx Table variable in both mapped locations – so if your codes expire and you need to update for future testing, you will only need to update the Regex Table variable itself, as it will be mapped:2
Step 11: Test and Debug
Before deploying the changes, thoroughly test the setup to ensure accurate data collection and proper functioning of tags.

Step 12: Deploy Changes
Once satisfied with the testing, publish the GTM container changes to make the TikTok server-side tracking live on the website.
Results
1. Enhanced Tracking Accuracy
With server-side tracking, our client gained more accurate insights into user interactions on TikTok ads, including cross-device tracking and event attribution.
2. Deeper Analytics
By integrating TikTok data into their existing analytics platform, we could analyze TikTok ad performance alongside other marketing channels, providing a comprehensive view of their marketing efforts.
3. Improved ROI
With better data insights, we optimized TikTok ad campaigns, resulting in improved return on investment (ROI) and higher conversion rates.
Conclusion
Implementing TikTok server-side tracking with GTM proved to be a game-changer for the client. By leveraging this advanced tracking solution, they were able to gain deeper insights into TikTok ad performance, optimize their campaigns, and drive better results, enabling better service offerings for people seeking relaxing and fulfilling holiday escapes.
Takeaways
– Server-side tracking enhances data accuracy and enables cross-device tracking.
– Google Tag Manager simplifies the deployment and management of tracking tags across various platforms.
– Thorough testing and debugging are essential before deploying changes to ensure accurate data collection.
Next Steps:
– Continuously monitor and analyze TikTok ad performance to identify further optimization opportunities.
– Explore additional server-side tracking capabilities to enhance overall advertising analytics.
For more information on implementing TikTok server-side tracking with GTM, contact us at TagDataTrust.